9 Fridge Fixes That Stop Food From Rotting or Hiding
Nine storage tweaks — clear containers, use-by labels, and space-making racks — bring every perishable into the open with a deadline, so nothing rots in the back or vanishes behind the yogurt.
Set Up an "Eat Me First" Bin
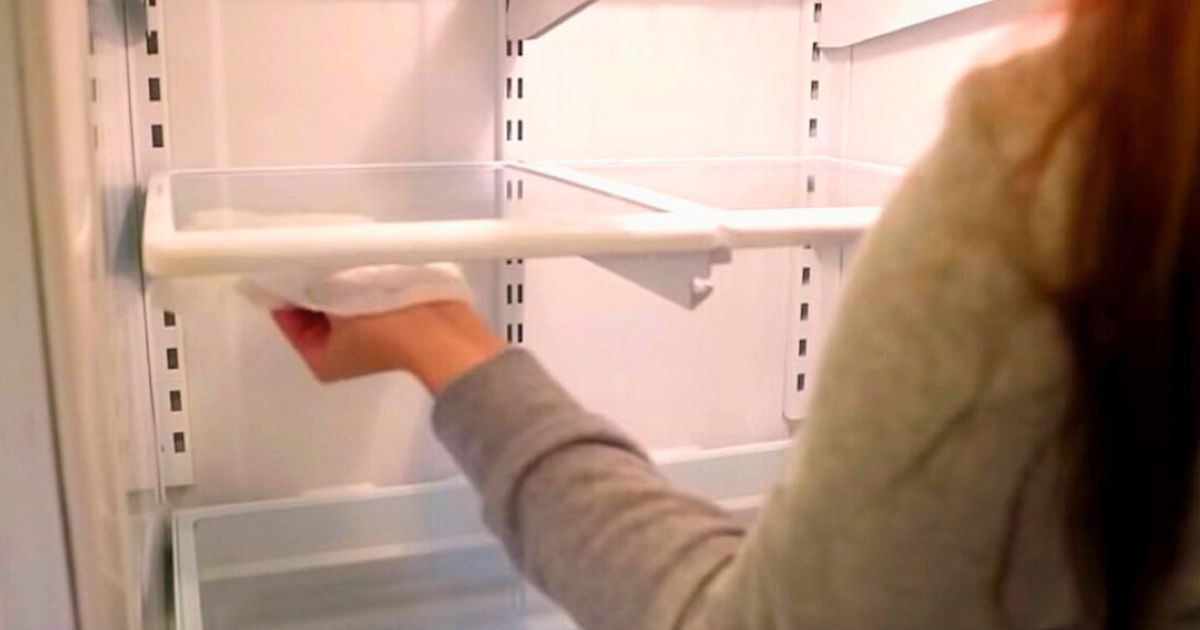
The problem with a clean fridge is that the food you bought last week hides behind the yogurt you bought today. A single bin labeled "Eat Me First" solves that. Reserve a plastic bin, set it on a shelf you open first, and drop in everything with a near-term expiration date—leftovers, cut fruit, deli meats. When you reach for a snack, you grab from that bin first, so nothing sits long enough to mold. The label itself is the reminder; you don't have to think about which item is oldest. Place it at eye level, not on a bottom shelf where you'll forget it exists. At the end of the week, wipe out the bin and start over. This one habit cuts spoilage because it forces a rotation without requiring you to memorize dates. Repurposing a takeout container keeps the cost at zero.
Switch to Clear Containers
Clear containers turn a fridge from a mystery box into a window. When every leftover sits in an opaque Tupperware, you forget it exists. Swap to see-through bins and glass jars, and you can spot the remains of Tuesday's pasta before it grows fur. The visual cue does the work of a label: you see what you have, so you eat it. They also make the fridge look pretty, because the contents, not the container, become the display. Use them for batches of chopped vegetables, cooked grains, or open jars of sauce. For liquids like soup, choose wide-mouth jars that are easy to scoop from; for dry items like nuts, a clear canister keeps them sealed and visible. The investment is a few dollars at any big-box store—Target alone stocks a dozen sizes—and the payoff is that you stop buying duplicates of things you already own.
Label Every Perishable with a Use-By Date
You can't rely on memory to know whether the yogurt is safe. Write a "use by" date on the container itself—use masking tape and a marker, or a dedicated label maker. This works for anything perishable: milk, deli slices, opened jars of salsa. When you put a new item away, mark it with the date you opened it or the date printed on the package. Then, when you're deciding between two jars of mayonnaise, the one with the earlier date goes into the "Eat Me First" bin or straight into tonight's dinner. The habit takes ten seconds per item and eliminates the guessing. A sticky note on the shelf won't do—it doesn't travel with the food. The label needs to be on each individual container, because that's what you reach for. Write the date in a permanent marker that won't smear when the bottle sweats.
Pour Condiments into Squeeze Bottles
Condiment jars are space hogs and guarantee a sticky mess. Pour your ketchup, mustard, and barbecue sauce into squeeze bottles. They stack, they cap tightly, and they put every last drop within reach. The narrow nozzle means you can fit six bottles where two jars stood before. You'll see exactly how much remains—no more mystery. Use one bottle per condiment and label the bottom with the sell-by date. The bottles cost about a dollar at the dollar store, and they save you from scraping the last smear out of a glass jar with a butter knife. If you buy condiments in bulk, transfer them immediately; don't wait for the bottle to be half-empty. The squeeze tip keeps the rim clean, so you never touch sticky residue again. A set of four bottles costs less than a meal out.
Corral and Label Bins for Every Shelf
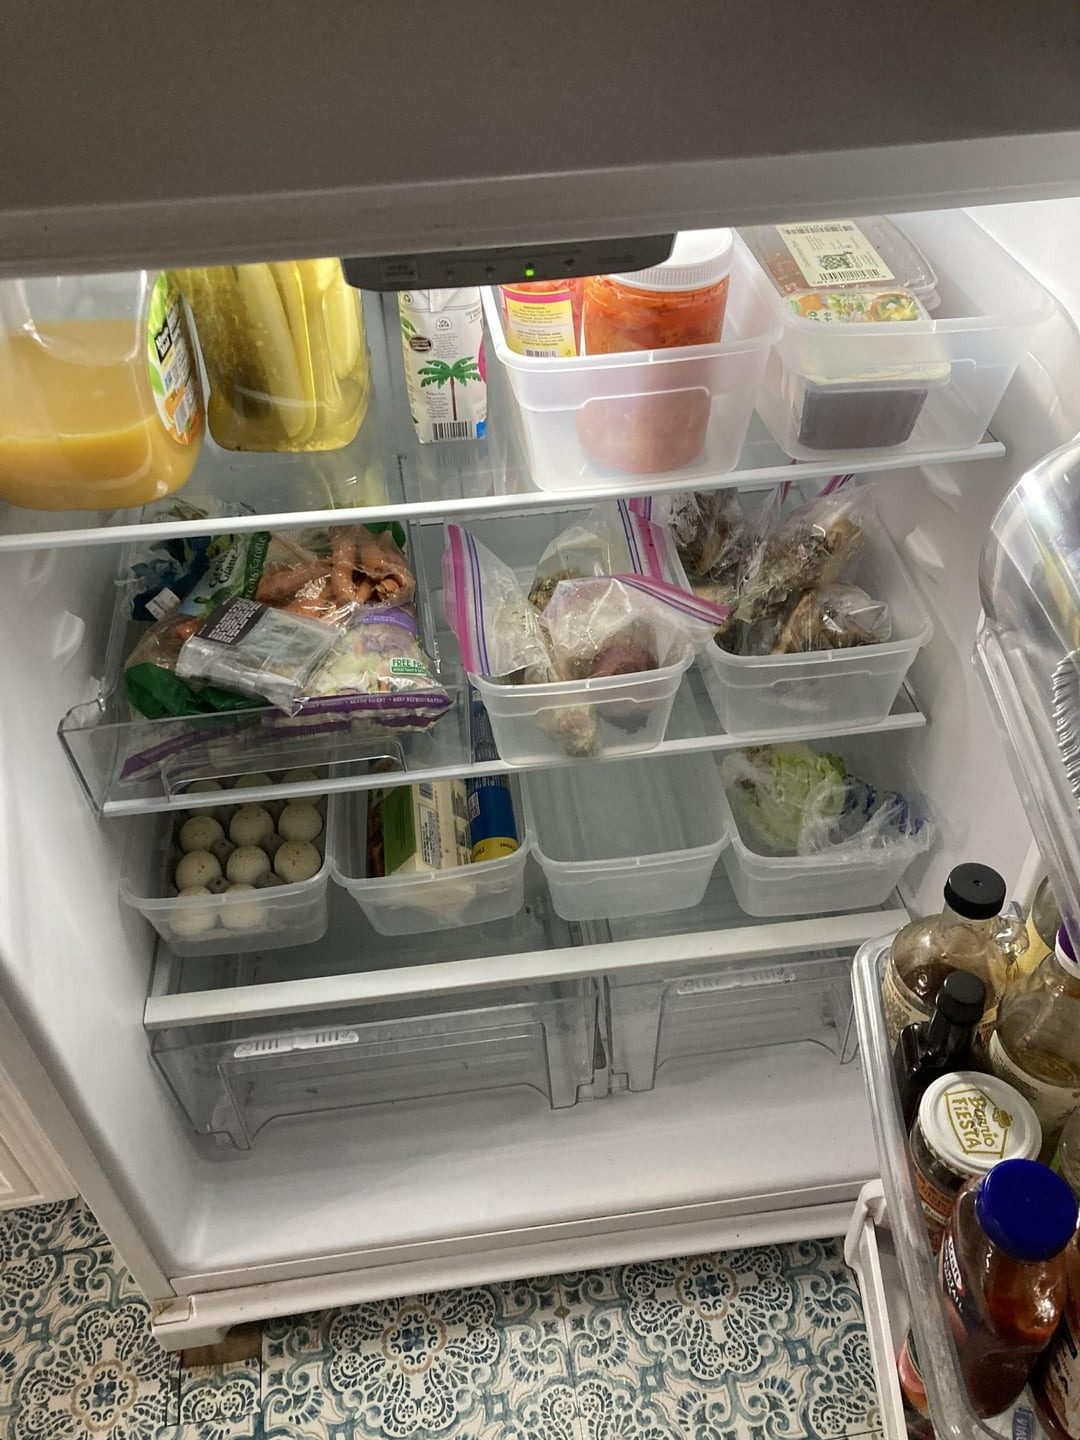
Buy a few inexpensive bins—Target sells them for a couple of dollars, or hit a dollar store for the same shape. Use them to corral like items: all the salad dressings in one bin, all the cheeses in another, all the jars of jam in a third. Then label each bin with a permanent marker or a printable label. The label makes the system stick because it tells everyone in the household where things go—and where to put them back. No more hunting for the soy sauce. You can also assign a bin to "open and nearly empty" items or to "snacks." The bins themselves keep smaller packages from rolling to the back. Choose bins with handles so you can lift them out in one motion. The combination of corralling and labeling transforms a chaotic shelf into a row of tidy stations.
Install a Wire Rack for a Second Level
A wire shelf doesn't just add a surface—it doubles your usable space. Set a wire rack on a shelf to create a second level: tall bottles underneath, short jars on top. The rack is cheap (a basic one runs $10 at most home stores) and takes two minutes to install. It works best on a deep shelf where you've got vertical dead space. Place it over a half-empty shelf, or use it in the door to hold small spice jars that would otherwise slide. The metal lets cold air circulate, so you're not creating a warm pocket. For extra stability, choose a rack with non-slip feet. Don't buy a rack with a solid top—airflow is the point. The payoff is that you can see what's behind the front row without moving everything.
Use Magazine Holders as Pull-Out Freezer Shelves
The freezer is a black hole where frozen bags slide under the coils. Repurpose magazine holders—the cardboard or plastic kind you'd use for mail—as open-topped shelves that pull out like drawers. Place them horizontally inside the freezer, open side facing you. Stand frozen waffles, bags of peas, or boxes of pizza in each holder. When you want one, you pull the whole holder out and see the options without hanging over the edge or losing a finger to frostbite. The holders cost next to nothing if you have them around, and they turn a deep freezer into a set of shallow compartments. They also work in the fridge for tall items like cartons of juice or jars of pickles. Label each holder with a permanent marker to know which is which. If you don't have magazine holders, use a sturdy cardboard box with the front cut off.
Turn the Fridge Door into a Dry Erase Board
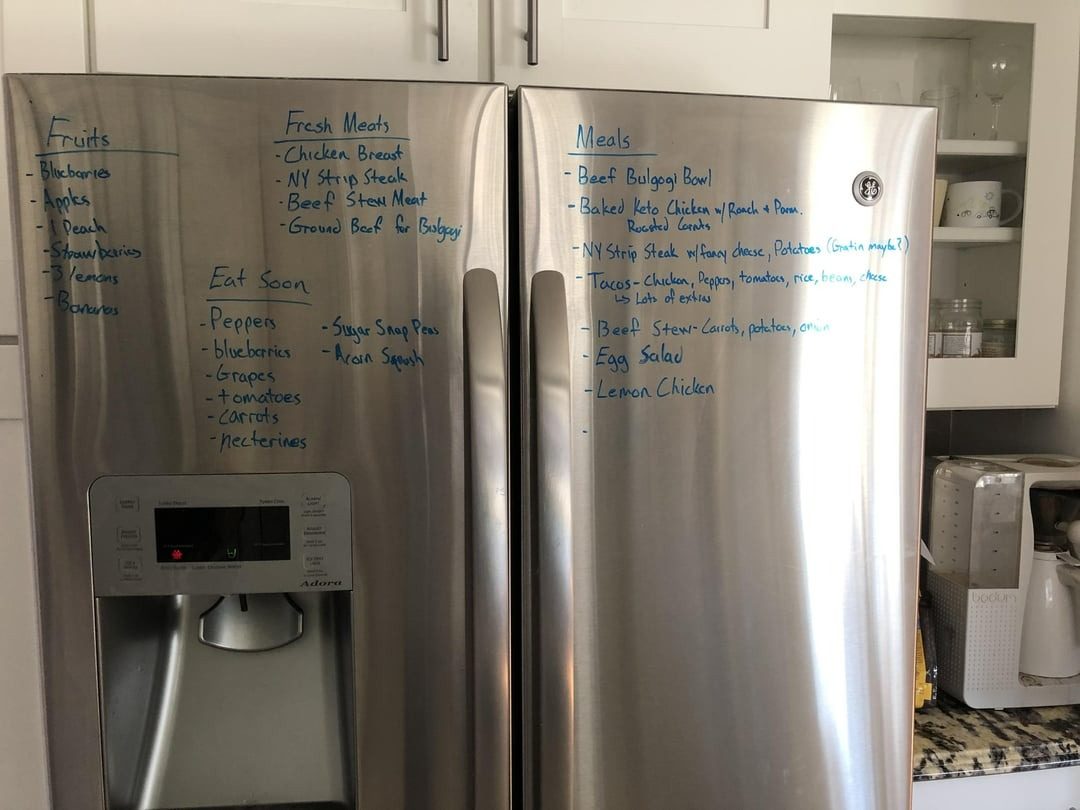
The front of your fridge is a blank slate that's easy to find and glance at. Instead of a dedicated whiteboard, use a dry erase marker—the non-permanent kind, so your notes wipe off with a cloth. Write a list of what's inside, or a meal plan for the week, or a reminder to thaw something for dinner. The marker costs under a dollar, and you already have a fridge door. The key is to use dry erase marker, not permanent marker; permanent ink becomes décor you can't remove. Write in a corner you see every day, and erase and change the notes weekly. This turns the fridge into a communication hub that doesn't require a specialized board. If you're worried about staining, test a mark on the side door first. A magnetic clip can hold the eraser nearby.
Paint a Chalkboard Panel for Erasable Notes
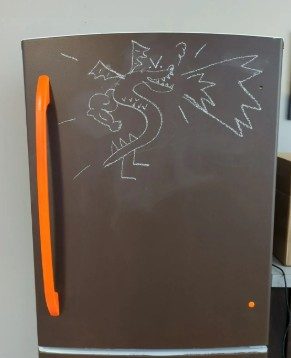
If dry erase marker doesn't feel right, paint a section of the fridge with chalkboard paint—or just buy a chalkboard sheet and stick it on the door. That gives you a permanent but erasable surface for the same list-writing, menu-planning purpose. Chalk is cheap, and you can use colored chalk to code items: white for staples, yellow for "use soon." The texture of chalkboard paint requires a bit more effort to clean than a dry erase board—you need a damp cloth—but it won't leave ghost marks if you wipe it properly. You can also write directly on the chalkboard with a chalk pen for a fine line. The result is a fridge that tells you what's inside without opening the door, and it's fully customizable to your household's routine.
Compiled from published reference material: animalchannel.co